Create Status Page
Step-by-step guide to creating your first status page, including setup, configuration, and monitor assignment.
Create Status Page
Creating a status page is the first step to providing transparent service communication to your users. This guide will walk you through the entire process from initial setup to going live.
Prerequisites
Before creating a status page, ensure you have:
- An active StatusPageOne account
- At least one monitor configured (see Monitor Setup)
- Admin access to your organization
Step-by-Step Creation Process
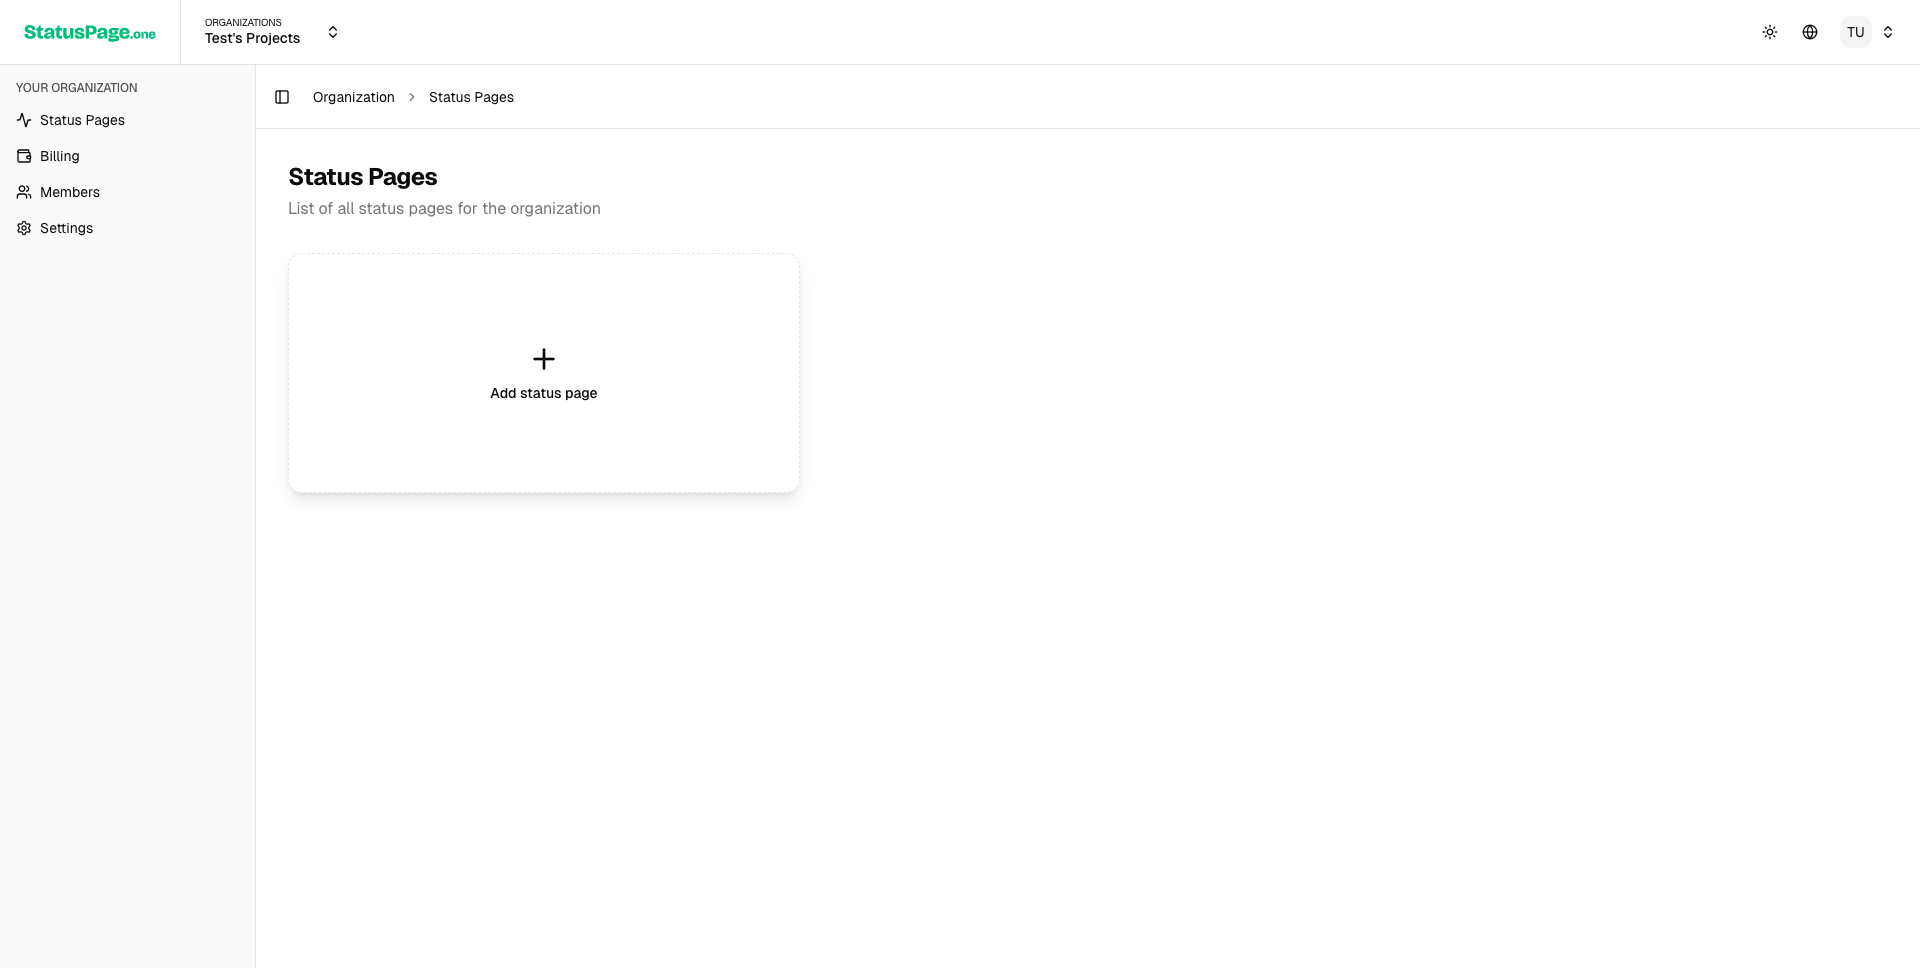
1. Navigate to Status Pages
From your admin dashboard:
- Click on Status Pages in the main navigation
- If this is your first status page, you'll see a welcome screen
- Click Create Status Page to begin
2. Basic Information
Fill out the essential details for your status page:
Status Page Name
- Enter your company or service name (3-50 characters)
- This appears as the main heading on your status page
- Example: "Acme Services" or "MyApp Platform"
Subdomain
- Choose your status page URL (3-20 characters, lowercase)
- Your status page will be accessible at
yourname.statuspage.one - Must be unique across all StatusPageOne users
- Use alphanumeric characters and hyphens only
- Example:
acme-services.statuspage.one
Visibility
Choose who can access your status page:
Public (Recommended)
- Visible to anyone with the URL
- Indexed by search engines
- Best for external services and transparency
Private
- Requires authentication to view
- Not indexed by search engines
- Suitable for internal services
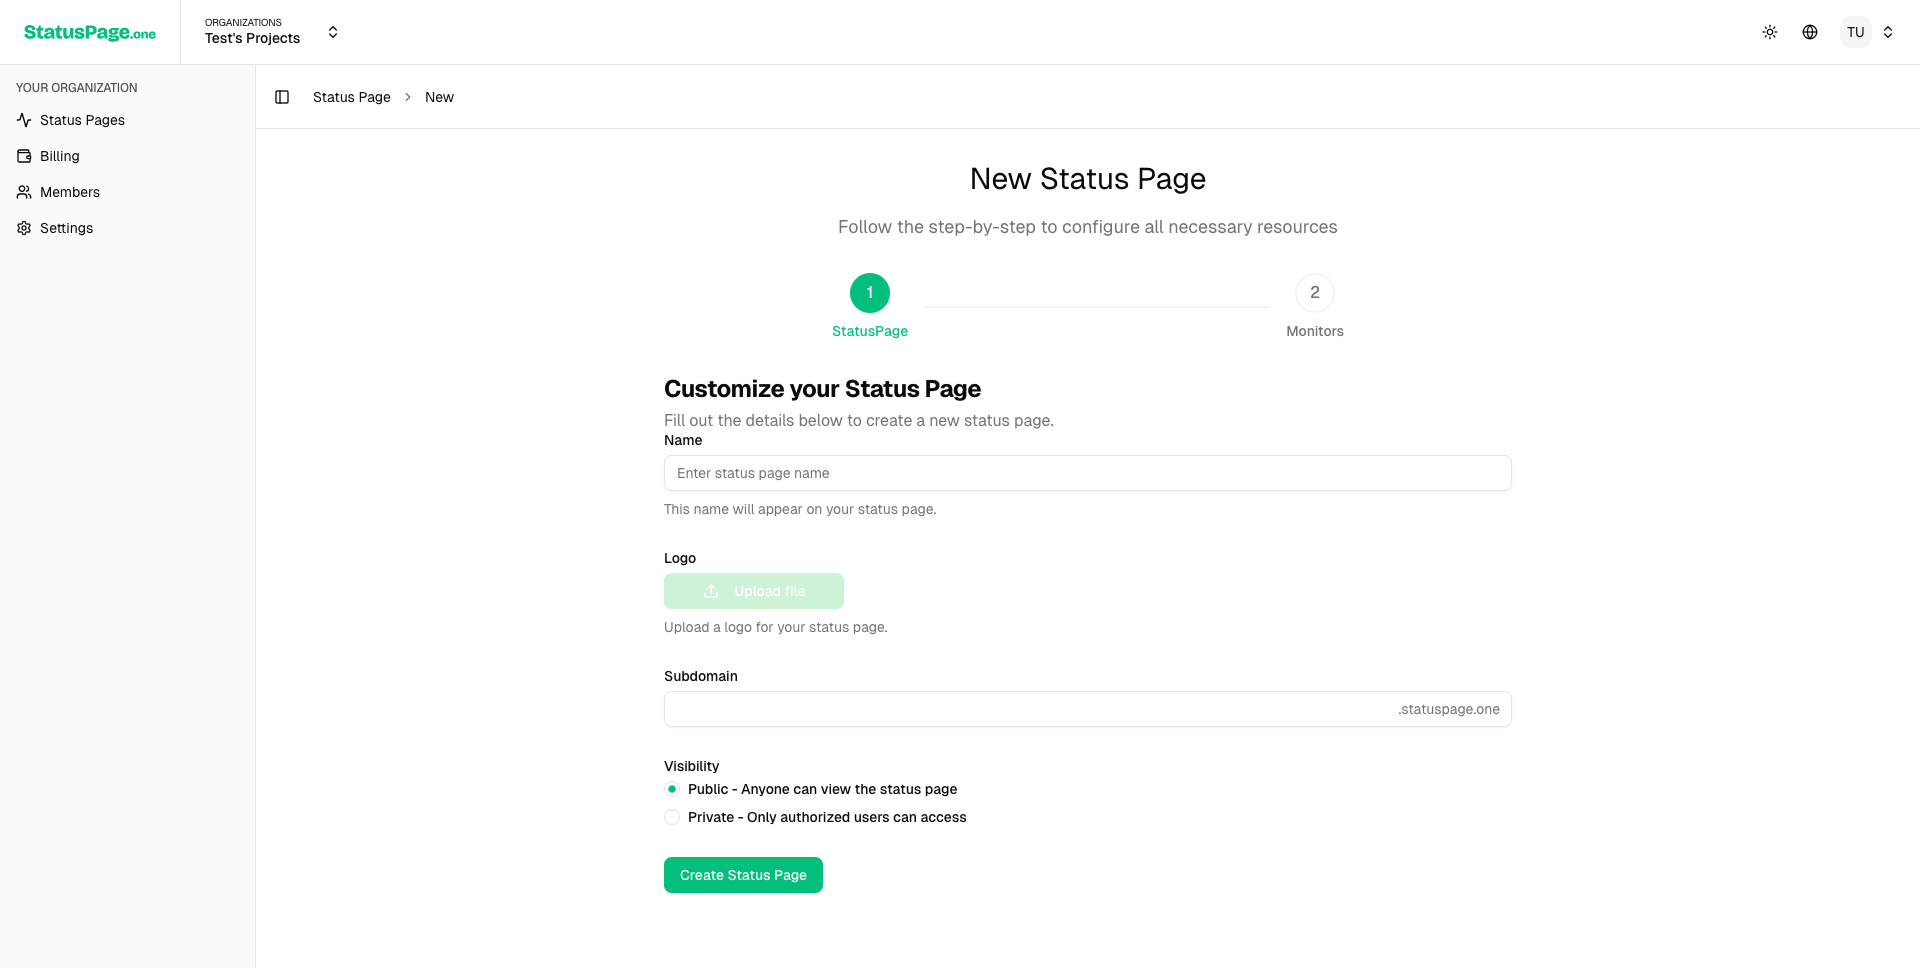
3. Logo Upload (Optional)
Add your company logo to personalize the status page:
- Click Upload Logo or drag and drop an image
- Supported formats: PNG, JPG, SVG (recommended)
- Maximum file size: 2MB
- Recommended dimensions: 200x50 pixels
- The logo appears in the header and OpenGraph cards
4. Preview Your Status Page
Use the Preview feature to see how your status page will look:
- Real-time preview updates as you make changes
- Test on different screen sizes
- Verify logo placement and text appearance
- Check both light and dark theme modes
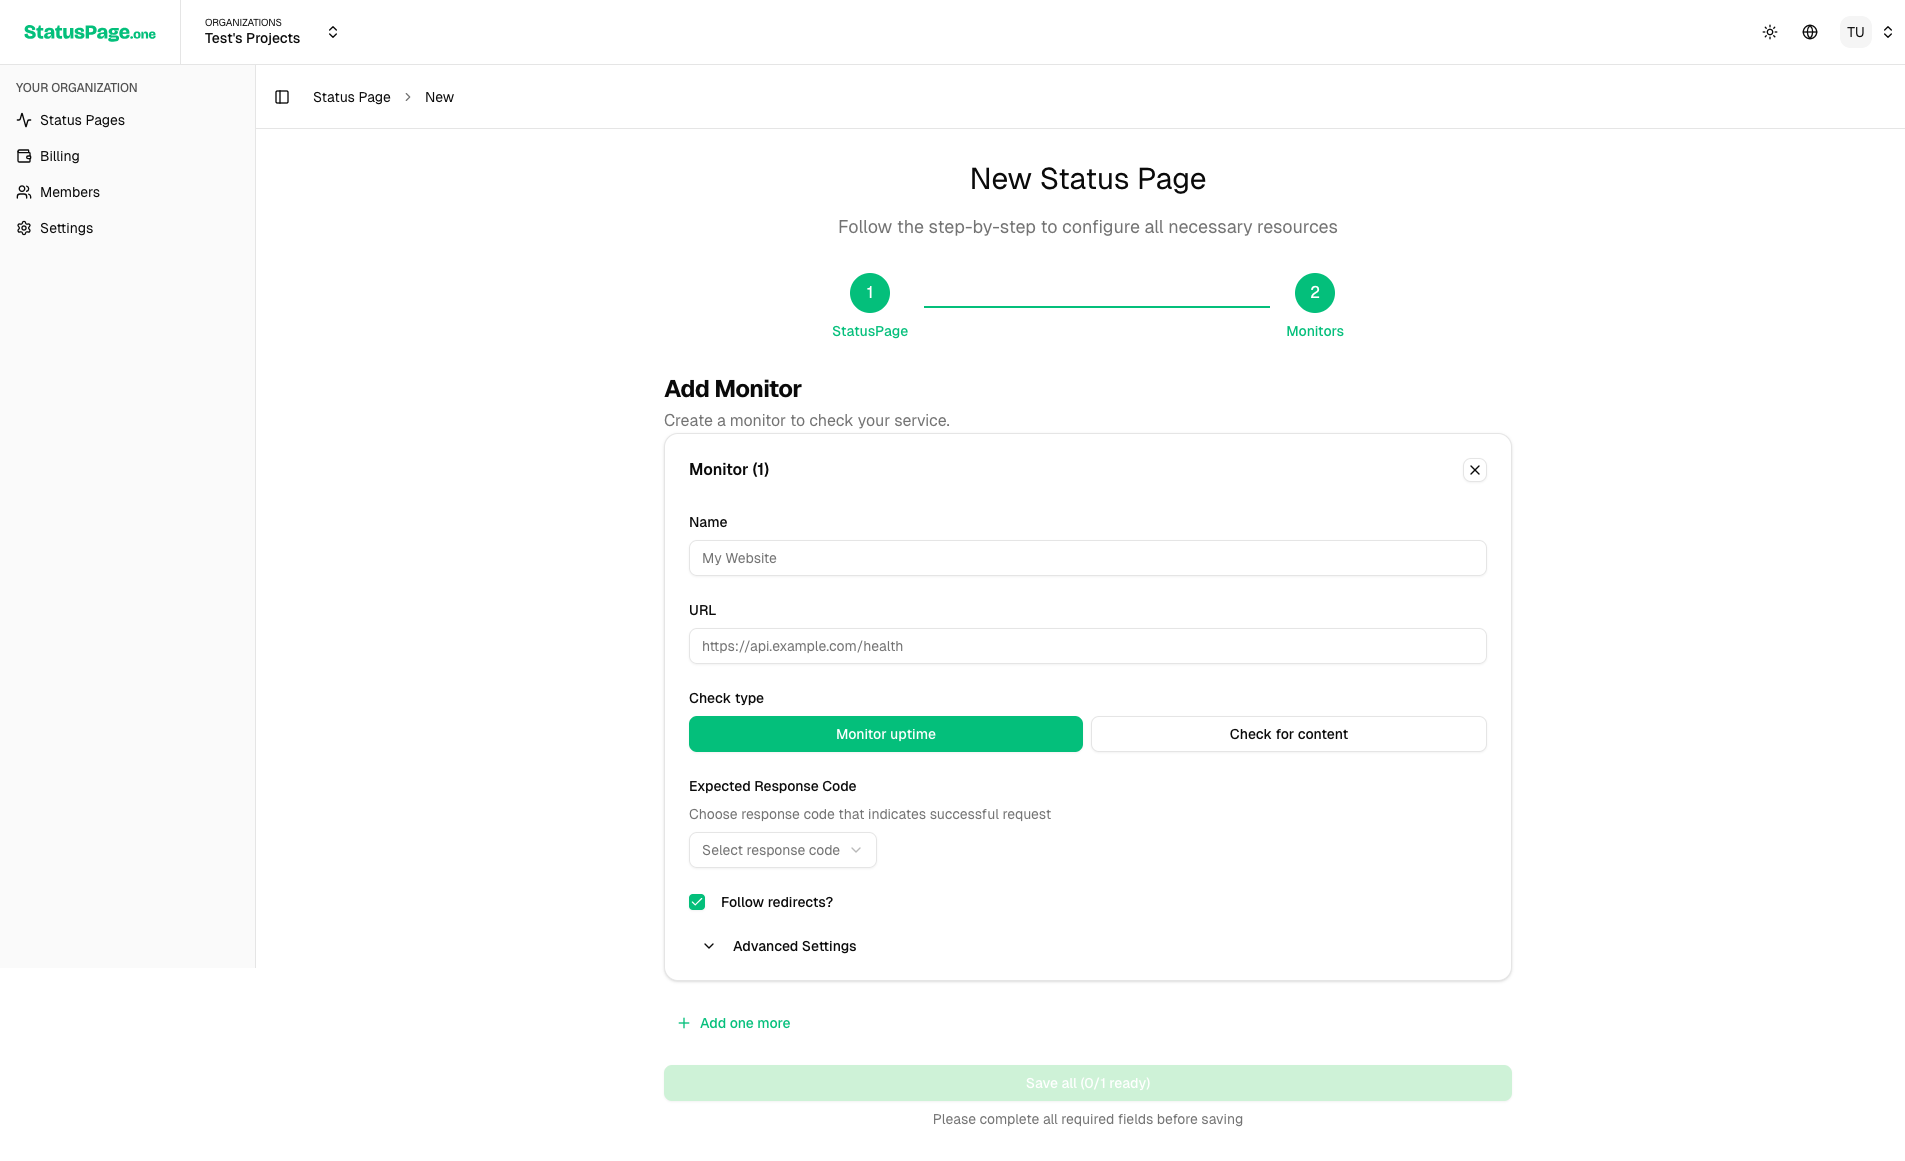
5. Monitor Assignment
Assign monitors to display on your status page:
Select Monitors
- Choose from your existing monitors
- Only active monitors appear in the list
- You can assign the same monitor to multiple status pages
- Each monitor shows as a separate service on the status page
Service Grouping
Monitors will be displayed as individual services with:
- Service name (taken from monitor name)
- Current status (Up/Down based on latest check)
- Response time metrics
- Uptime percentage
6. Review and Create
Before creating your status page:
- Review all settings in the summary section
- Check the subdomain - it cannot be changed after creation
- Verify monitor selection - you can modify this later
- Test the preview one final time
Click Create Status Page to go live.
Post-Creation Setup
Immediate Next Steps
After creating your status page:
- Bookmark the URL -
yourname.statuspage.one - Test the live page - Verify everything displays correctly
- Share with your team - Get internal feedback before going public
- Set up notifications - Configure incident management
Configure Incident Management
Set up automatic incident creation:
- Go to Monitors > Settings for each monitor
- Enable Auto-generate incidents
- Configure failure thresholds (default: 3 consecutive failures)
- Set failure window (default: 5 minutes)
- Choose default severity (minor, major, critical)
Customize Further
Enhance your status page with additional customization:
- Custom domains - Set up your own domain
- Branding - Adjust colors and styling
- Languages - Configure multi-language support
- SEO - Optimize meta descriptions and titles
Status Page Structure
Your status page will display:
Header Section
- Company logo (if uploaded)
- Status page name
- Subscribe button for notifications
Overall Status
- High-level status: "All Systems Operational" or "Issues Detected"
- Color-coded indicator (green for operational, red for issues)
Services List
Each assigned monitor appears as a service showing:
- Service name
- Current status indicator
- Response time (latest measurement)
- Uptime percentage (last 30 days)
Recent Updates
- Latest 5 incident updates
- Maintenance announcements
- Status change notifications
Historical Data
- 90-day uptime graph
- Performance metrics
- Incident history
Managing Multiple Status Pages
You can create multiple status pages for different:
- Products - Separate pages for each product line
- Audiences - Internal vs external users
- Regions - Different geographic markets
- Environments - Production, staging, development
Each status page can have:
- Unique subdomain and branding
- Different monitor assignments
- Separate incident management
- Individual subscriber lists
Common Mistakes to Avoid
Subdomain Selection
- Don't use spaces or special characters
- Avoid overly long names that are hard to remember
- Choose something brandable and professional
- Remember subdomains cannot be changed after creation
Monitor Assignment
- Include all user-facing services that could impact users
- Don't include internal monitoring or development services
- Group related services logically for easier understanding
- Use clear service names that users will recognize
Visibility Settings
- Public is usually better for transparency and trust
- Private may seem like you're hiding something
- Consider starting private for testing, then switching to public
Testing Your Status Page
Before announcing your status page:
Functional Testing
- Visit the live URL and verify all elements load
- Test mobile responsiveness on various devices
- Check different browsers for compatibility
- Verify monitor data is displaying correctly
Content Review
- Service names are clear and user-friendly
- Logo displays properly at different sizes
- Overall status reflects actual service state
- Subscribe functionality works correctly
Performance Testing
- Page loads quickly (under 3 seconds)
- Images are optimized and load efficiently
- No console errors in browser developer tools
- Accessibility features work properly
Next Steps
Once your status page is created and tested:
- Customize the appearance to match your brand
- Set up custom domains if desired
- Configure incident management for automated updates
- Announce the status page to your users and team
- Add the URL to your main website footer or help documentation
Your status page is now ready to provide transparent, real-time communication about your service status to your users.
Improve this page
Found an error or want to contribute? Edit this page on GitHub.